
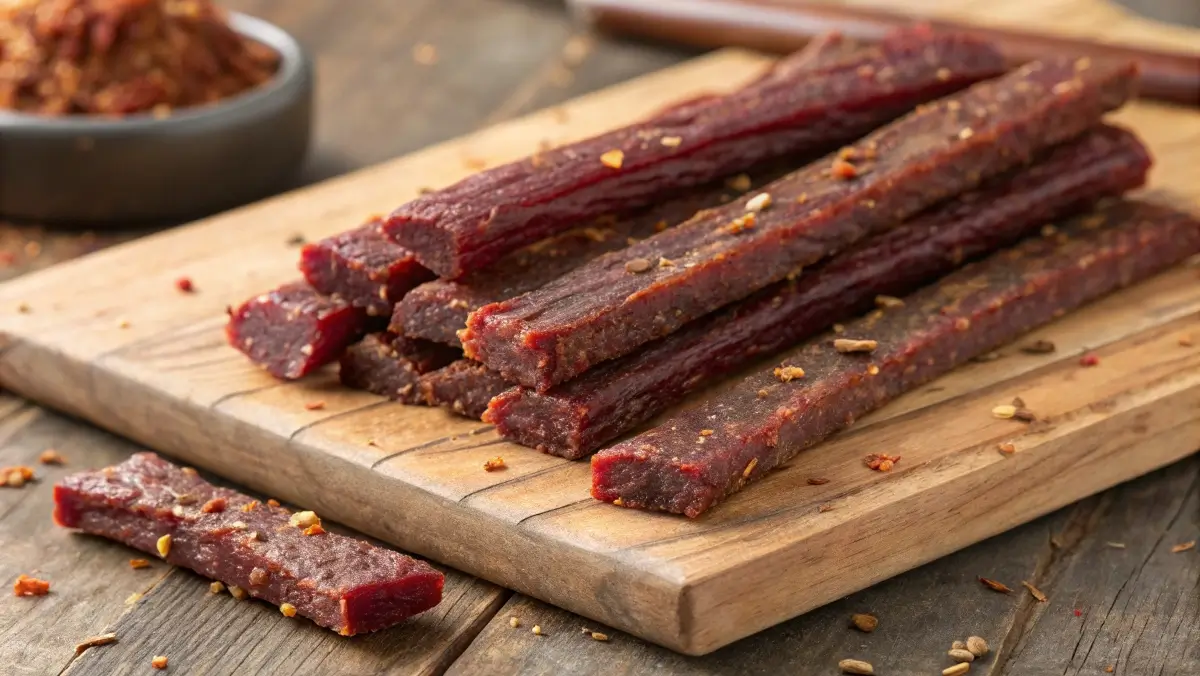
The Best Ground Venison Jerky Recipe for Flavorful Homemade Snacking
If you’re a wild game enthusiast or just looking for a healthier alternative to store-bought jerky, this ground venison jerky recipe will be your go-to. Crafted for flavor, simplicity, and nutrition, this method uses lean ground deer meat to create tender, protein-packed snacks that are perfect for outdoor adventures or everyday snacking.
Unlike traditional sliced jerky, ground venison offers a more tender texture and allows for deeper seasoning penetration. Whether you’re a seasoned hunter or just trying your hand at wild game, this guide walks you through every step—from selecting the right cut to dehydrating like a pro. We’ll also explore storage hacks, flavor variations, and smart ways to use up any leftover ground venison.
Looking for inspiration? Try these delicious carnivore-friendly snacks to pair with your jerky creations.
Table of Contents
Why Ground Venison Jerky is a Game-Changer
The Appeal of Making Jerky from Ground Deer Meat
There’s something incredibly satisfying about transforming your hunt into a savory snack. Ground venison jerky recipe isn’t just easier on the jaw—it’s also simpler to shape, season, and dehydrate. Using ground meat means you don’t have to slice with precision, making it ideal for beginners or anyone who doesn’t own a meat slicer.
In fact, when comparing it to sliced jerky, many find the ground venison jerky recipe superior in terms of chewability and taste uniformity. The seasoning blends more evenly through the meat, resulting in consistent flavor in every bite.
Plus, it’s versatile. You can add spice, smoke, sweetness, or even go bold with global flavors like Korean BBQ or Cajun heat.
How Ground Jerky Differs from Sliced Venison Jerky
Sliced jerky uses thin strips of whole muscle cuts, which can result in a tougher, chewier bite. Ground jerky, on the other hand, is made from finely processed venison that’s extruded using a jerky gun—forming uniform, snackable strips or sticks.
Here’s a quick comparison:
| Feature | Sliced Jerky | Ground Jerky |
|---|---|---|
| Texture | Chewy and dense | Softer and more tender |
| Preparation | Requires slicing | Requires grinding and shaping |
| Flavor Absorption | Surface only | Deep penetration of flavors |
| Equipment Needed | Sharp knife | Grinder + jerky gun |
| Beginner-Friendly | Moderate | Very beginner-friendly |
For many home cooks and hunters, the ability to control the grind, seasoning, and consistency makes ground venison jerky recipe a standout.
Check out this crack burger recipe to make the most of your leftover venison grind.
Choosing the Right Venison and Tools
What is the Best Cut of Venison for Ground Jerky?
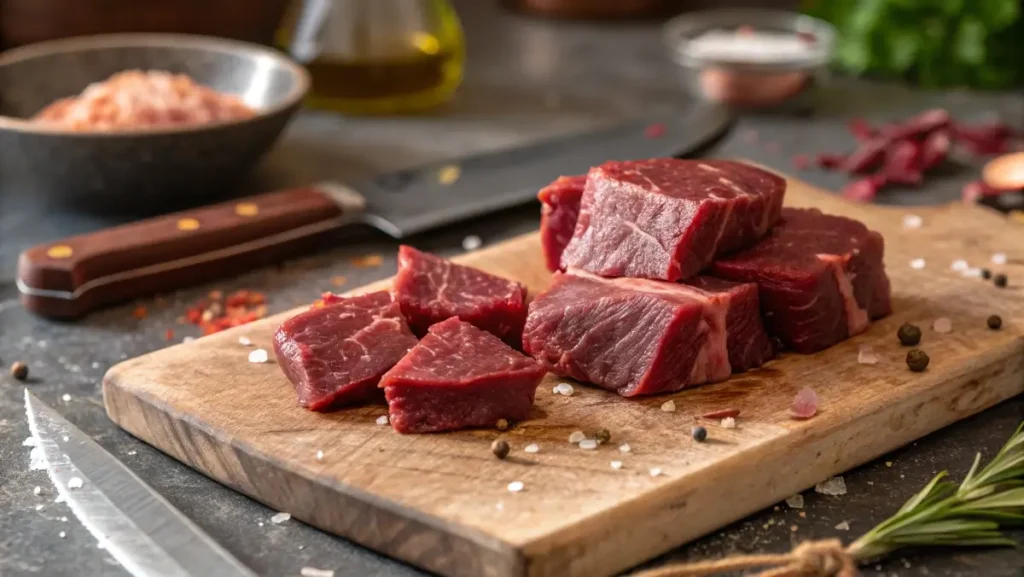
When making the perfect ground venison jerky recipe, the cut of meat you choose is everything. You want to start with lean muscle meat—typically from the hindquarters, top round, or bottom round. These cuts are ideal because they’re low in fat, which means longer shelf life and a better drying process.
Avoid using fatty parts or cuts with connective tissue, like shoulder or rib meat. Fat doesn’t dehydrate well and can cause spoilage, affecting both texture and taste.
Here’s a breakdown of top venison cuts suitable for grinding into jerky:
| Cut Name | Fat Content | Jerky Suitability | Notes |
|---|---|---|---|
| Top Round | Very Low | Excellent | Consistent grind, very lean |
| Bottom Round | Low | Great | Slightly tougher but dries well |
| Eye of Round | Ultra Lean | Ideal | Best for fine grinding |
| Sirloin Tip | Moderate | Good | Trim excess fat beforehand |
Pro tip: Mix a bit of beef suet or lean beef if your venison is too lean. But keep fat content under 10%.
Essential Tools: Dehydrator, Jerky Gun, and Meat Grinder
To bring your ground venison jerky recipe to life, you’ll need a few essential tools. Don’t worry—nothing overly fancy. Just the right gear to keep your prep smooth and your jerky consistent.
Here’s a look at what you’ll need:
- Meat Grinder:
A reliable grinder ensures your venison is evenly ground. A coarse plate (⅜ inch) works best to maintain texture. - Jerky Gun:
This is a must-have for ground jerky. It helps extrude the meat into perfect strips or sticks, similar to a caulking gun. Look for one with interchangeable nozzles for variety. - Dehydrator:
A quality dehydrator is vital. Choose one with adjustable temperature settings (especially if it goes to 160°F). Horizontal air flow models work best for even drying. - Vacuum Sealer (Optional):
For long-term storage, nothing beats vacuum sealing. It prevents moisture and extends shelf life, especially if freezing. - Mixing Bowls and Gloves:
Don’t overlook the basics. You’ll want food-safe gloves for mixing, and bowls large enough to work the seasoning deep into the meat.
Discover great ideas like these hearty carnivore diet meals if you’ve got more ground meat on hand after jerky making.
Prepping the Meat for Jerky Success
How to Properly Trim, Grind, and Chill Venison
Before you even think about seasonings or drying times, proper preparation of your meat is essential. Gently mash herbs and fruits with a muddler to extract their natural oils and juices.
Step 1: Trim Thoroughly
With a sharp boning knife, carefully remove any visible fat, silver skin, and connective tissue from the meat. This prevents off-flavors and spoilage. Even small amounts of fat can cause your jerky to turn rancid if stored for too long.
Step 2: Chill the Meat
For a perfect grind, the meat should be semi-frozen. Chill it in the freezer for about 30–60 minutes. This stiffens the meat, making it easier to cut and grind uniformly without smearing.
Step 3: Grind to the Right Consistency
Start with a coarse grind plate (⅜ inch) for the initial pass, then switch to a finer plate (¼ inch) if you prefer a smoother texture for your jerky. If you’re making large batches, mix each grind thoroughly to maintain consistency in seasoning and moisture.
Here’s a quick guide:
| Prep Step | Purpose |
|---|---|
| Trimming fat | Prevents spoilage, cleaner taste |
| Chilling meat | Aids in grinding, improves texture |
| Double grinding | Enhances uniformity, smoother strips |
Don’t miss our baked beans with ground beef if you’re looking to use up extra ground meat in a rich, filling dish.
Tips to Ensure Texture and Flavor Are Just Right
Even perfectly ground meat can fall flat without the right prep techniques. Here’s how to elevate your jerky game:
- Use a Cure Powder:
To ensure food safety, especially when dehydrating at lower temperatures, use a curing salt like Prague Powder #1. It also helps retain that classic jerky texture and reddish color. - Massage the Marinade:
Whether you’re using a dry seasoning mix or a wet marinade, mix it in with your hands to fully incorporate the flavors. Let it sit for 4–24 hours in the fridge for deep flavor penetration. - Don’t Skip the Binder:
Ground meat needs a binder to help it hold shape. Common choices include soy sauce, Worcestershire, or even a teaspoon of mustard powder or corn syrup solids. Some recipes add egg whites, but this can alter shelf life. - Test a Sample Strip First:
Before you commit the full batch to the dehydrator, form and dry one test strip. Check for seasoning, consistency, and texture.
Looking for bold wild game flavors? This king salmon recipe will inspire your next high-protein adventure.
Crafting the Perfect Ground Venison Jerky Recipe
Must-Have Ingredients: Seasonings, Marinades, and Binders
Now it’s time to flavor things up. The best ground venison jerky recipe balances savory, smoky, and a hint of sweetness or spice. Whether you’re going for a classic taste or something bold, your base seasoning mix is critical.
Here’s a tried-and-true base recipe (for 1 lb. of ground venison):
| Ingredient | Amount | Purpose |
|---|---|---|
| Ground venison (lean) | 1 pound | Protein base |
| Soy sauce | 2 tablespoons | Salt + umami |
| Worcestershire sauce | 1 tablespoon | Richness + acidity |
| Garlic powder | 1 teaspoon | Flavor depth |
| Onion powder | 1 teaspoon | Aroma + flavor |
| Smoked paprika | 1 teaspoon | Smoky notes |
| Black pepper | ½ teaspoon | Mild heat |
| Liquid smoke (optional) | ½ teaspoon | Adds smokiness without a smoker |
| Prague Powder #1 (curing salt) | ¼ teaspoon | Food safety + traditional jerky color |
| Brown sugar or honey | 1 teaspoon | Optional sweetness |
| Crushed red pepper flakes | To taste | For spice lovers |
Binder Tip: If your mix feels too crumbly, add 1–2 tablespoons of water or low-sodium broth to improve binding without compromising flavor.
Want to try something richer? For extra depth and a hint of uniqueness, stir in a splash of maple syrup or a touch of bourbon.
Don’t miss our lamb breast plate recipe for another wild game classic.
Step-by-Step Process to Mix, Load, and Form Jerky Strips
Follow these steps to turn your seasoned meat into perfect jerky strips:
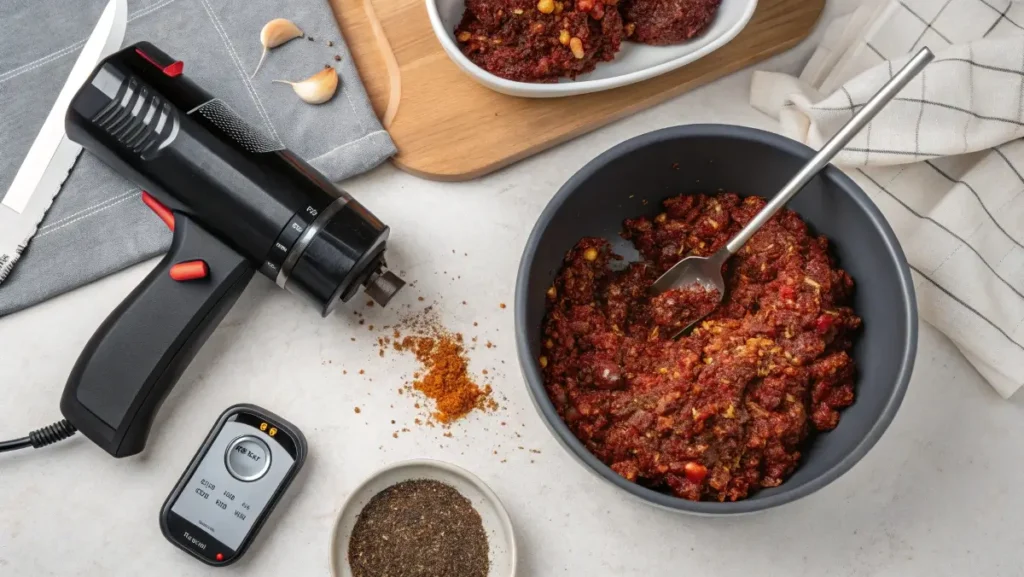
Step 1: Mix Thoroughly
Place your ground venison and all seasonings into a large bowl. Mix by hand (wear gloves) or use a stand mixer on low. Mix for 2–3 minutes until the meat becomes sticky and well combined. This texture is key to forming uniform strips.
Step 2: Chill Again
Refrigerate the mixture for 1 hour before loading your jerky gun. This firms up the meat, making it easier to extrude.
Step 3: Load the Jerky Gun
Fill your jerky gun tightly, pressing out any air bubbles. Attach the flat or round nozzle depending on your strip shape preference.
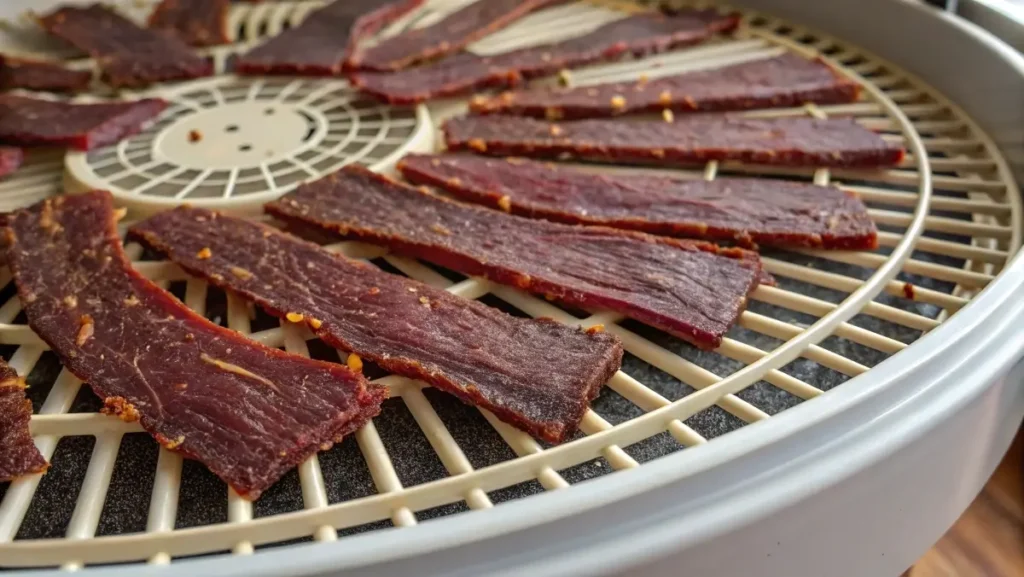
Step 4: Form Strips on Dehydrator Trays
Extrude strips directly onto trays lined with parchment paper or dehydrator sheets. Keep each strip about ¼ inch thick and consistent in length.
Step 5: Preheat Dehydrator (Optional But Ideal)
Some models benefit from preheating. Set to 160°F before loading trays.
Step 6: Dehydrate (Details in Part 5)
Dehydrate until leathery but flexible. See the next part for timing and testing.
Here’s a quick visual flow:
- Mix ingredients thoroughly
- Chill meat
- Load jerky gun
- Extrude onto trays
- Dehydrate
Check out these snacks for a carnivore diet if you’re all about low-carb, high-protein living.
Dehydrating Like a Pro
How Long Should You Dehydrate Ground Venison Jerky?
The dehydration stage is where your ground venison jerky recipe really takes shape—literally and flavorfully. Timing here is crucial. Dehydrate too little, and the jerky may be unsafe. Too long, and you’ll have brittle meat with no chew left.
Standard dehydration time:
- 4 to 8 hours at 160°F (71°C)
- Thickness of strips, moisture content, and humidity in your environment can affect drying time.
Here’s a quick reference chart:
| Jerky Thickness | Dehydrator Temp | Approx. Time | Tip |
|---|---|---|---|
| ¼ inch | 160°F | 4–6 hours | Check after 4 hrs |
| ½ inch | 160°F | 6–8 hours | Rotate trays for even drying |
Signs it’s done:
- Jerky bends without breaking.
- Inside is firm but not wet or greasy.
- Surface feels dry but not hard like a cracker.
- Internal temp reaches at least 160°F (use a thermometer to be safe).
Always test a piece: let it cool slightly, then bend it. If you see any moisture or fat squeezing out, it needs more time.
Pro Safety Tip: The USDA recommends heating jerky to 160°F before or after drying to kill potential pathogens. Some use a quick bake in the oven at 275°F for 10 minutes post-dehydration.
Discover more flavor-packed meat prep in this delicious carnivore recipe collection, ideal for jerky lovers and protein enthusiasts alike.
Ideal Temperature and Timing for Optimal Results
To keep your ground venison jerky recipe safe and tasty, always follow a controlled drying process. Using an oven? No worries—you can still make it work. Just crack the door open for air flow and rotate the trays frequently.
| Dehydrator or Oven | Temp Setting | Time Range | Fan Required? |
|---|---|---|---|
| Food Dehydrator | 160°F | 4–8 hrs | Built-in |
| Oven (home) | 170°F (lowest) | 3–6 hrs | Yes (door ajar) |
| Smoker (optional) | 160–180°F | 3–5 hrs | Optional |
Important: Never set below 145°F. Low temperatures may result in unsafe, under-dried meat.
Check out this baked beans with ground beef dish for a hearty, savory side to serve alongside your jerky at your next gathering.
Storage, Safety, and Shelf Life
Does Ground Venison Jerky Need to Be Refrigerated?
Yes—unless you’ve vacuum sealed it and included curing salt, ground venison jerky should be refrigerated to ensure safety. Because ground meat has more surface area exposed (compared to sliced jerky), it’s more vulnerable to bacterial growth if improperly stored.
If you used Prague Powder #1 or another nitrate-based cure during prep, and the jerky is completely dehydrated, you can store it at room temperature for up to 1 week in an airtight container.
Here’s a guideline to help you store it safely:
| Storage Method | Shelf Life (Uncured) | Shelf Life (With Cure) |
|---|---|---|
| Room Temp (airtight jar) | 1–2 days | 1 week |
| Fridge (zip bag or jar) | Up to 1 week | 2–3 weeks |
| Freezer (vacuum-sealed) | Up to 6 months | Up to 12 months |
Important: Always label your jerky batches with the date and ingredients. If it smells off or feels greasy, discard it.
Don’t miss our lamb breast plate recipe for more wild game ideas you can prep ahead and freeze.
Vacuum Sealing and Shelf Stability Tips
Vacuum sealing is the gold standard for jerky storage. Not only does it extend shelf life, but it also locks out air and moisture—two of jerky’s worst enemies.
Tips for vacuum sealing your jerky:
- Let jerky cool completely before sealing to prevent condensation inside the bag.
- Use food-safe oxygen absorbers for longer pantry storage.
- Label each bag with date, flavor, and batch number.
- Freeze sealed bags if not consumed within a few weeks.
Want to learn more about smart meat preservation? This king salmon recipe also features curing techniques that apply to jerky storage as well.
Finally, always keep a stash in different locations—pantry for short-term snacks, fridge for daily eats, and freezer for long-term backup.
Jerky Flavor Variations to Try
Spicy Jalapeño, Sweet Teriyaki, and Smoky BBQ Options
One of the biggest perks of making your own ground venison jerky recipe is the endless customization. Whether you like it fiery, tangy, sweet, or savory—there’s a jerky style for everyone.
Here are three tried-and-true flavor variations:
1. Spicy Jalapeño Jerky
Flavor Profile: Bold heat with a fresh pepper kick.
Ingredients (per 1 lb ground venison):
- 1 tablespoon chopped pickled jalapeños or 1 teaspoon jalapeño powder
- 1 tablespoon apple cider vinegar
- 1 teaspoon smoked paprika
- ½ teaspoon garlic powder
- ½ teaspoon onion powder
- ¼ teaspoon cayenne (optional for extra heat)
- Cure (Prague Powder #1) as needed
Pro Tip: Add a splash of lime juice for a zesty finish.
2. Sweet Teriyaki Jerky
Flavor Profile: A perfect balance of sweet and umami.
Ingredients:
- 2 tablespoons low-sodium soy sauce
- 1 tablespoon honey or brown sugar
- ½ teaspoon ginger powder
- ½ teaspoon garlic powder
- 1 tablespoon mirin or rice vinegar
- ¼ teaspoon black pepper
- Cure as needed
Pro Tip: Add pineapple juice for a tropical twist.
3. Smoky BBQ Jerky
Flavor Profile: Deep, smoky, and slightly tangy.
Ingredients:
- 2 tablespoons BBQ sauce (sugar-free for keto-friendly)
- 1 teaspoon liquid smoke
- 1 teaspoon onion powder
- ½ teaspoon chili powder
- 1 tablespoon Worcestershire sauce
- Cure as needed
Pro Tip: Mix in ½ teaspoon of ground mustard for added depth.
Looking for inspiration? Try this crack burger recipe with similar seasoning profiles—it’s a great way to use leftover jerky spice blends.
How to Customize Heat, Sweetness, and Saltiness
You don’t have to follow a fixed formula. Here’s how to adjust flavor elements in your ground venison jerky recipe:
| Flavor Element | Ingredient Adjustments |
|---|---|
| Spice | Add cayenne, chipotle, jalapeños |
| Sweetness | Use honey, maple syrup, brown sugar |
| Saltiness | Add soy sauce or tamari |
| Acidity | Add vinegar, lemon, or lime juice |
| Smoke | Add liquid smoke or smoked paprika |
Ratio Tip: Keep total liquid ingredients under 4 tbsp per pound to avoid sogginess.
Beyond Jerky – More Recipes with Ground Venison
What Else Can You Make with Ground Venison?
If you’ve stocked up on venison during hunting season, jerky is only the beginning. Ground venison is one of the most versatile proteins in any wild game kitchen—it’s lean, flavorful, and can easily replace ground beef in most recipes.
Here are some tasty ideas that go far beyond your ground venison jerky recipe:
- Venison Burgers – Add some chopped onions, Worcestershire sauce, and a touch of fat like beef tallow or bacon for juicy patties.
- Venison Meatballs – Use almond flour instead of breadcrumbs for a keto-friendly version.
- Taco Meat – Season with cumin, paprika, chili powder, and garlic for protein-packed taco night.
- Chili – Combine ground venison with black beans, diced tomatoes, and spices for a rich, slow-simmered chili.
- Stuffed Bell Peppers – Mix ground venison with rice or cauliflower rice, onions, and cheese for a low-carb favorite.
- Venison Sloppy Joes – Sweet and savory, this is a great family-friendly comfort food.
Check out these hearty baked beans with ground beef—they pair perfectly with ground venison too!
Creative Ideas: Burgers, Chili, and Stuffed Peppers
Need some meal prep inspiration? Here’s a mini menu using ground venison:
| Meal Type | Dish Idea | Notes |
|---|---|---|
| Weeknight Dinner | Venison Shepherd’s Pie | Use mashed cauliflower for keto twist |
| Meal Prep Lunch | Ground Venison Stir Fry | Add frozen veggies and coconut aminos |
| Slow Cooker Fav | Venison Chili | Simmer all day for bold flavor |
| Comfort Food | Jerky-Stuffed Quesadillas | Combine jerky bits with cheese + tortillas |
| On-the-Go Snack | Venison Meatloaf Muffins | Bake in a muffin tin for portability |
Looking for inspiration? Try this king salmon recipe if you want to complement your game-based meals with lean seafood.
Venison is the kind of ingredient that rewards creativity. Whether grilled, baked, or simmered low and slow, it adapts beautifully to bold spices and rustic preparations.
Common Mistakes and Pro Tips
Avoiding Texture Issues with Ground Meat Jerky
If your ground venison jerky recipe ends up too crumbly, mushy, or oddly chewy, don’t worry—you’re not alone. Ground meat jerky has its quirks, but you can sidestep them with a few smart adjustments.
Top texture mistakes and how to fix them:
| Mistake | What Happens | Fix It With… |
|---|---|---|
| Not chilling meat before grinding | Smears, uneven grind | Chill for 30–60 minutes before grinding |
| Skipping the binder | Crumbles or falls apart | Use soy sauce, water, or curing mix to bind |
| Uneven strip thickness | Dry spots or underdone parts | Use a jerky gun for consistent extrusion |
| Overmixing | Rubber-like texture | Mix until tacky, not pasty |
| Too much liquid seasoning | Soggy or sticky jerky | Limit total liquid to 3–4 tbsp per pound |
Pro Tip: Always test a small batch of the jerky first before committing to a full tray. This lets you tweak seasoning, drying time, and shape.
Looking for inspiration? Try these snacks for carnivore diet to discover other high-protein, low-carb treats.
Using Cure and Preventing Spoilage Like a Pro
Food safety should never be an afterthought when working with wild game. Here’s how to keep your jerky safe, shelf-stable, and fresh:
- Always Use Cure for Long-Term Storage
Even if you’re refrigerating, Prague Powder #1 offers a margin of safety and enhances the texture and color. - Dehydrate at the Right Temp
160°F is the golden rule. If you go lower, bacteria may survive the process. - Store Jerky in Cool, Dark Places
Light and heat degrade texture and flavor. If storing for more than a week, vacuum seal and freeze. - Rotate Trays While Dehydrating
Even air flow = even drying. Rotate trays every 2 hours if your dehydrator doesn’t self-regulate. - Keep Records
Especially for hunters, tracking what you used, how long you dehydrated, and what worked helps make the next batch even better.
Don’t miss our crack burger recipe for a totally different way to show off your ground game meat.
Conclusion: Master the Ground Venison Jerky Recipe Like a Pro
Making your own ground venison jerky recipe is both satisfying and delicious. It’s the ultimate wild game snack—high in protein, low in fat, and completely customizable. By choosing the right cut, seasoning with care, and dehydrating properly, you’ll end up with better-than-store-bought jerky every time.
Looking for more flavor-packed creations? Explore these carnivore diet recipes to make full use of your wild game harvest.
FAQs
Can I make jerky out of ground deer?
Absolutely. Ground venison is perfect for jerky because it’s lean and tender. With the right binder and a jerky gun, you’ll get flavorful, soft strips ideal for snacking.
How long should you dehydrate ground venison?
Dehydrate at 160°F for 4 to 8 hours, depending on strip thickness. The jerky should be dry yet pliable when done, not brittle.
What can I make out of ground venison?
Aside from jerky, try burgers, meatballs, tacos, chili, stuffed peppers, or casseroles. Ground venison is a versatile substitute for ground beef.
Can you use ground meat for jerky?
Yes! With the help of a jerky gun and curing salt, ground meat makes delicious, easy-to-chew jerky.
Does ground venison jerky need to be refrigerated?
Yes, unless vacuum sealed with a curing agent. For best results, store in the fridge or freezer if not consumed within a few days.
What is the best cut of meat for ground jerky?
Lean cuts like top round, bottom round, or sirloin tip are ideal. Avoid fatty cuts to prevent spoilage and ensure even dehydration.